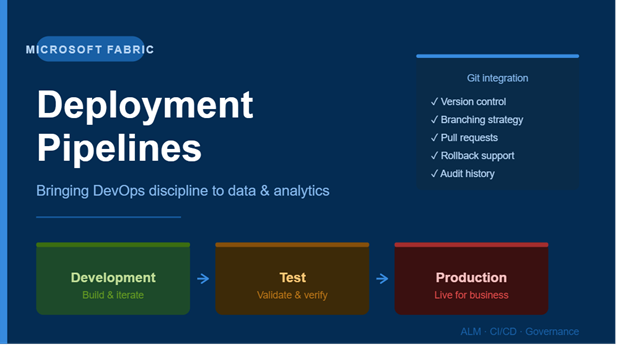

Microsoft Fabric Enterprise Planning: Bringing Planning Closer to Trusted Data
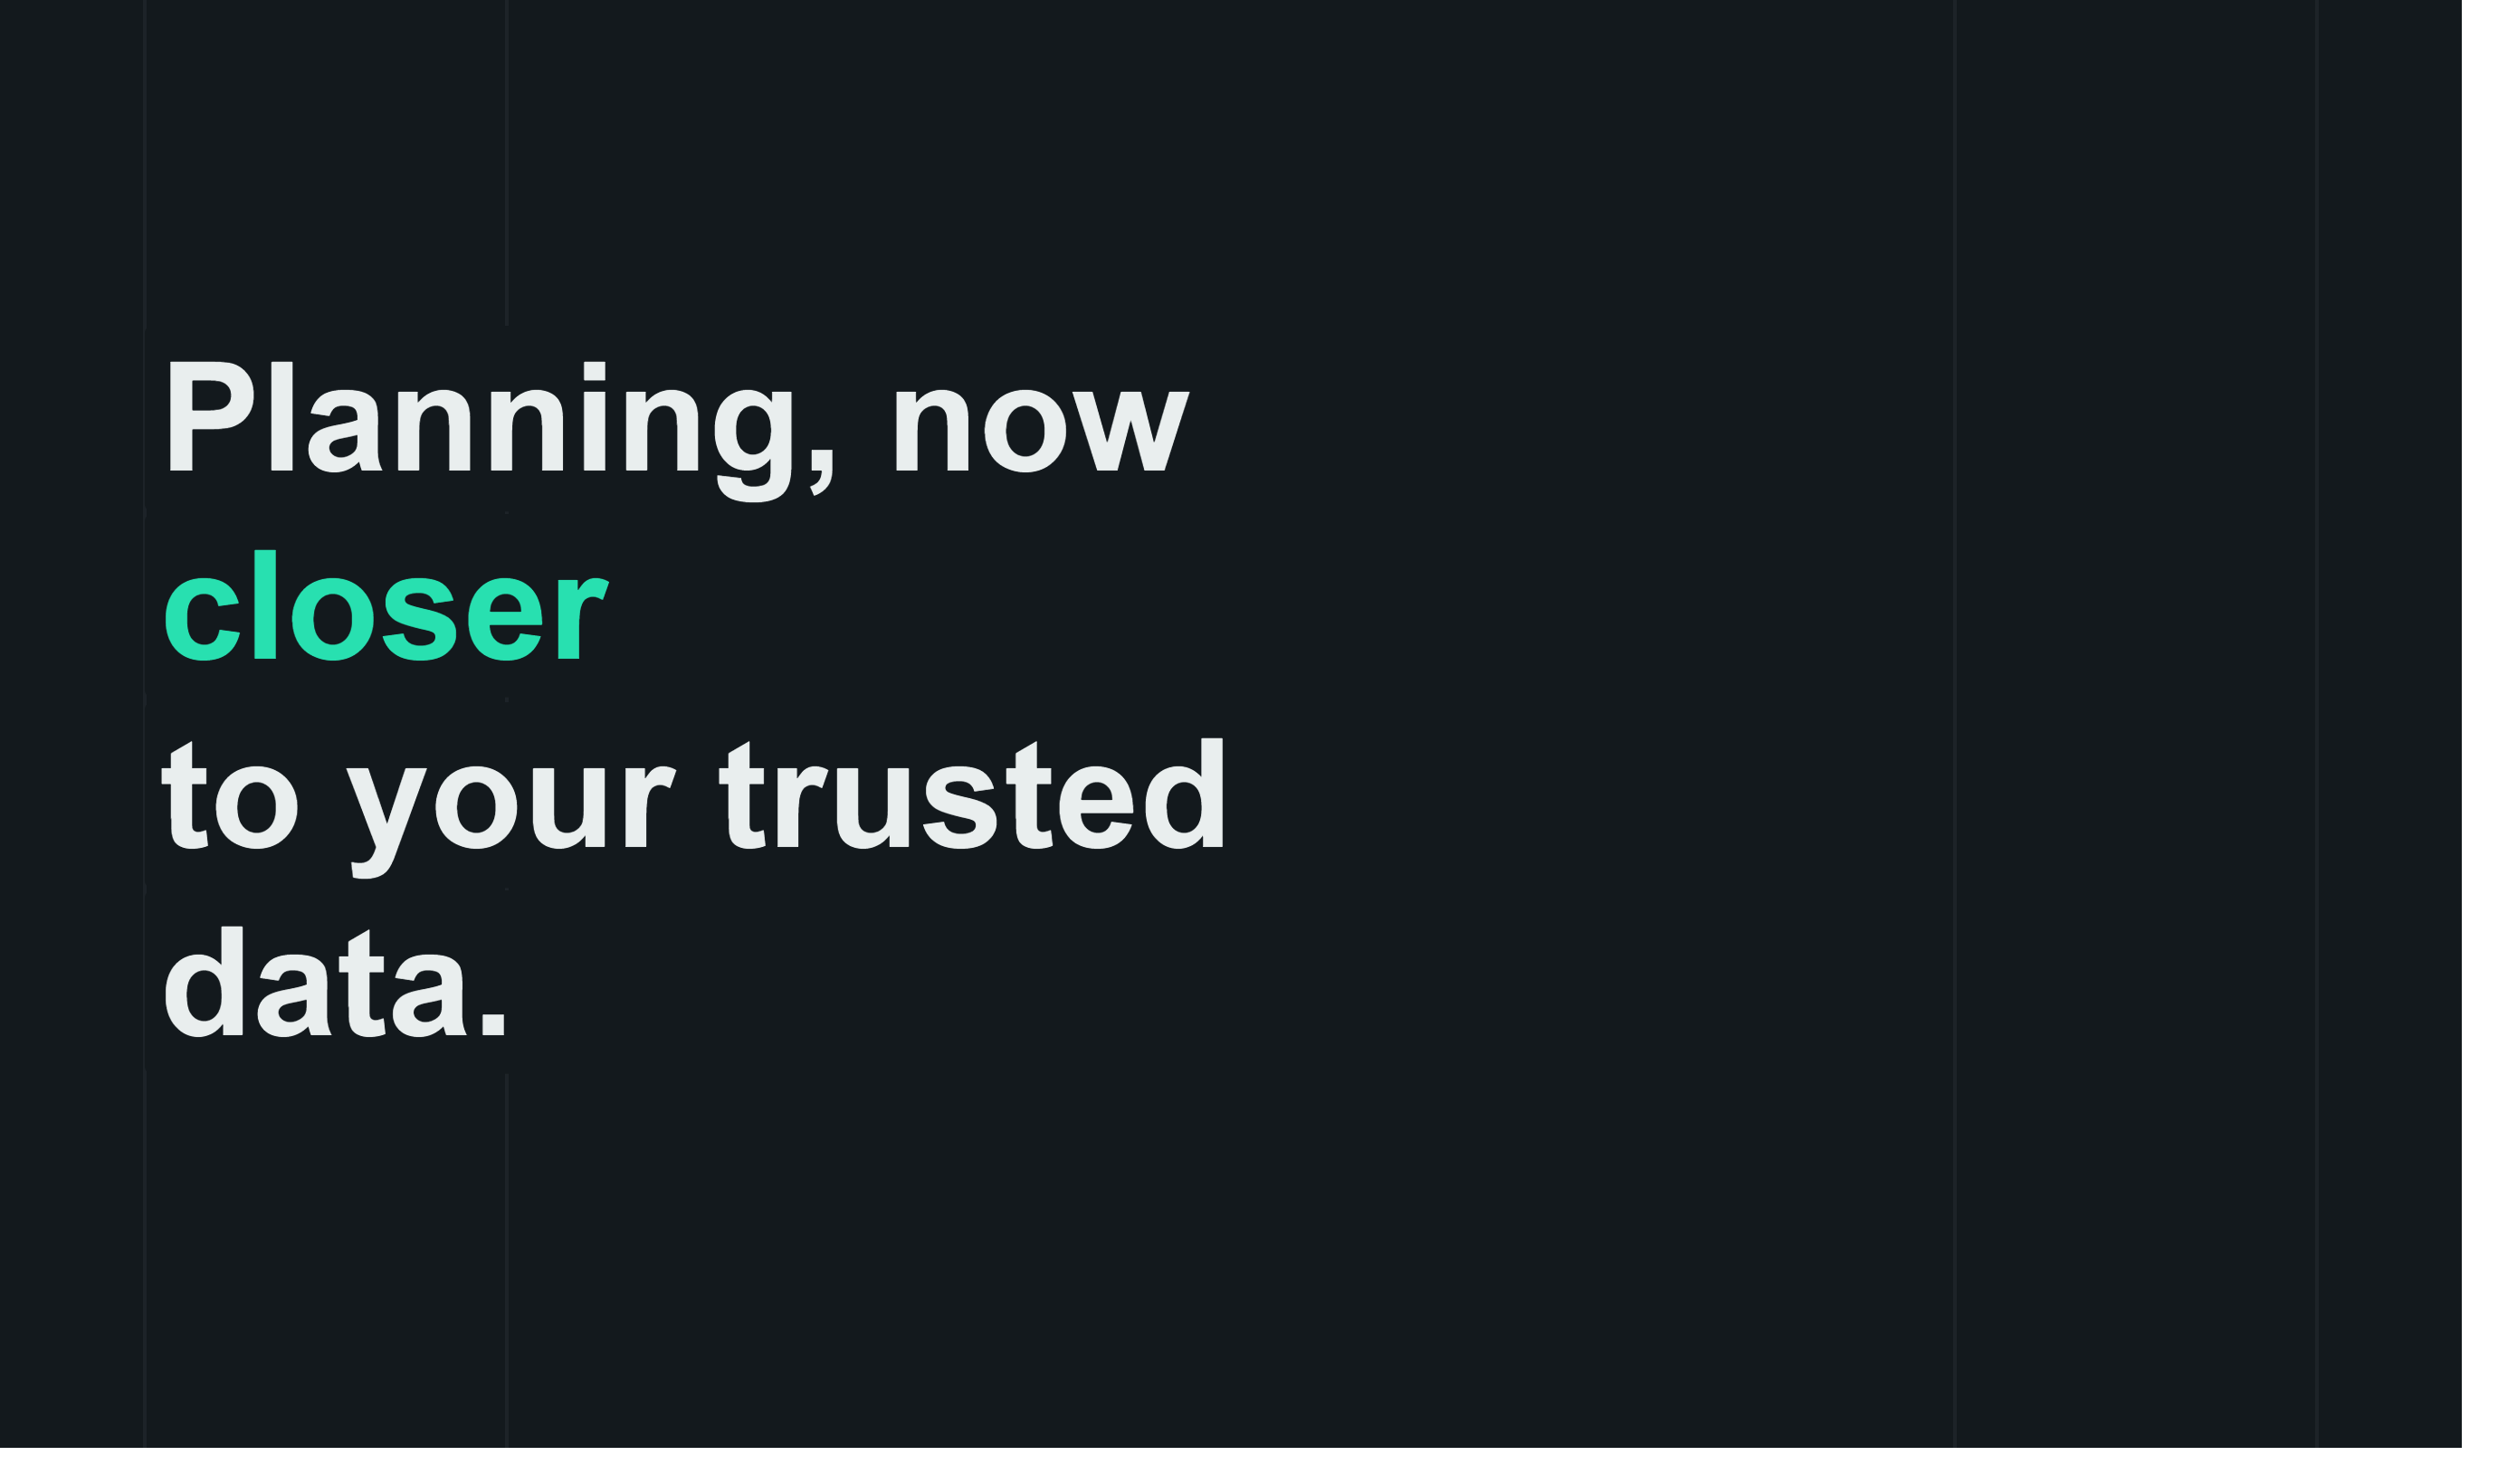
Enterprise planning is moving closer to the data.
For years, planning has lived outside the platforms that actually run the business. Finance teams work in spreadsheets. Sales teams maintain separate forecasts. Operations teams track assumptions in their own tools. Leadership teams depend on reports that may not always reflect the latest planning changes.
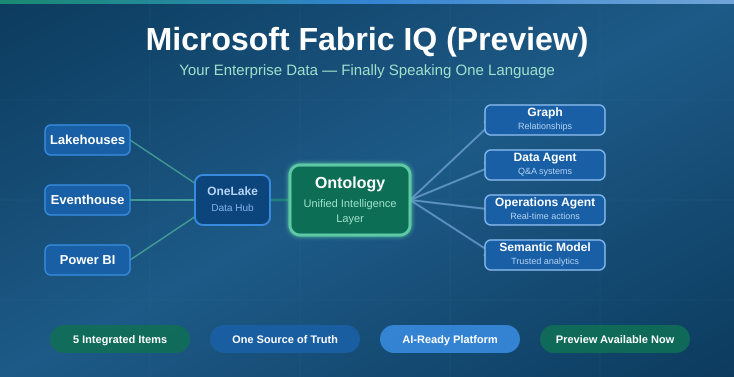
Microsoft Fabric is starting to change that conversation. At the time of this session, Planning in Fabric IQ was presented in preview, with a clear direction: move planning workflows closer to the same data foundation organizations already use for analytics and reporting.
Hero visual: bringing planning to existing data
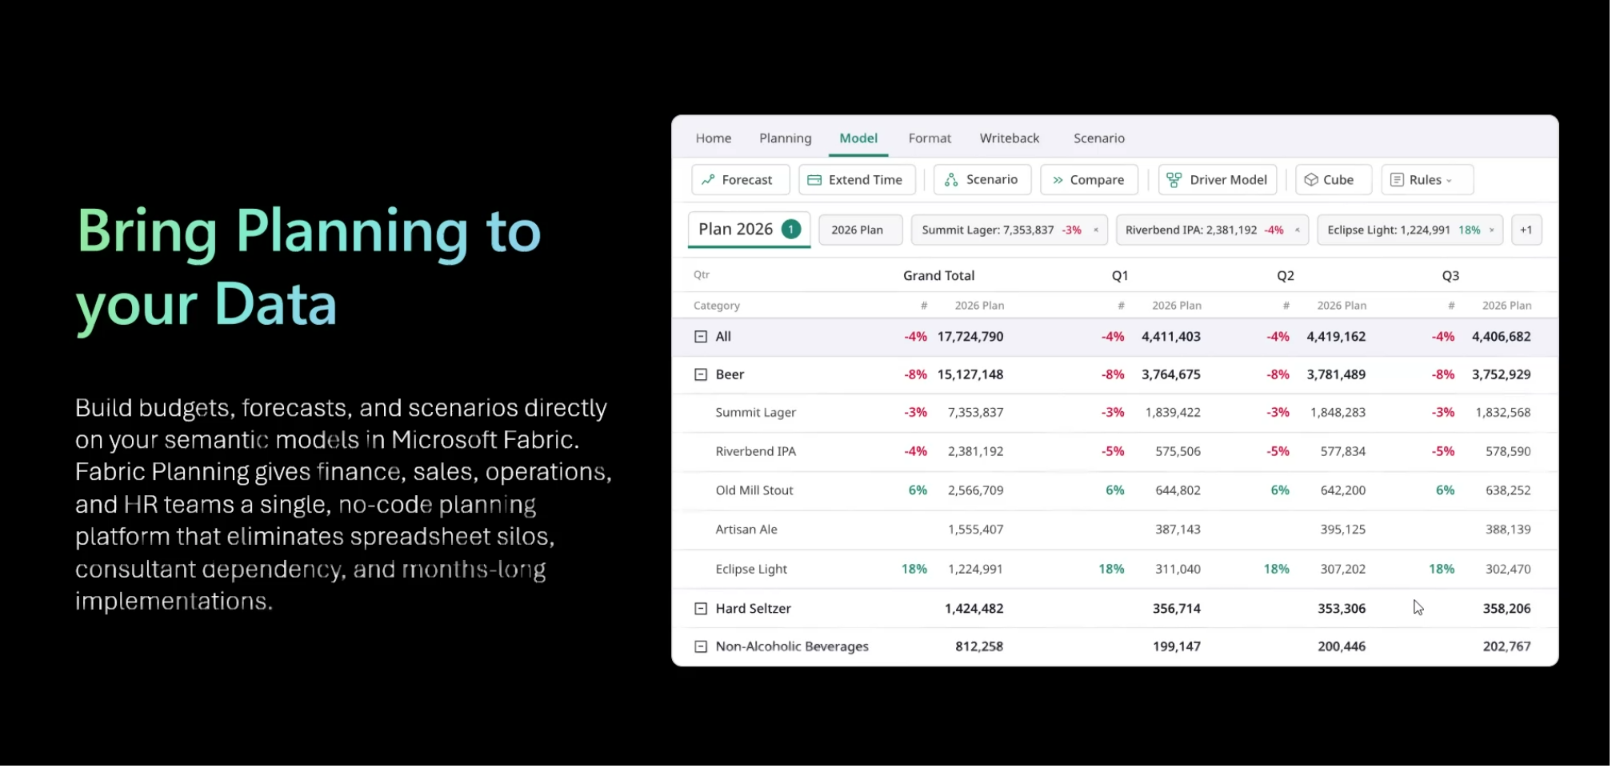
Hero visual: bringing planning to existing data
Why enterprise planning needs to change
Enterprise planning is more than budgeting. It includes forecasting, scenario modeling, approvals, targets, variance analysis, operational planning, and performance management.
The challenge is that these activities often sit in separate systems. Teams export data, update numbers, review changes, re-upload files, and then spend time explaining why planning numbers do not match actual reporting.
A planning process should not create another version of the truth. It should strengthen the trusted data foundation the business already uses.
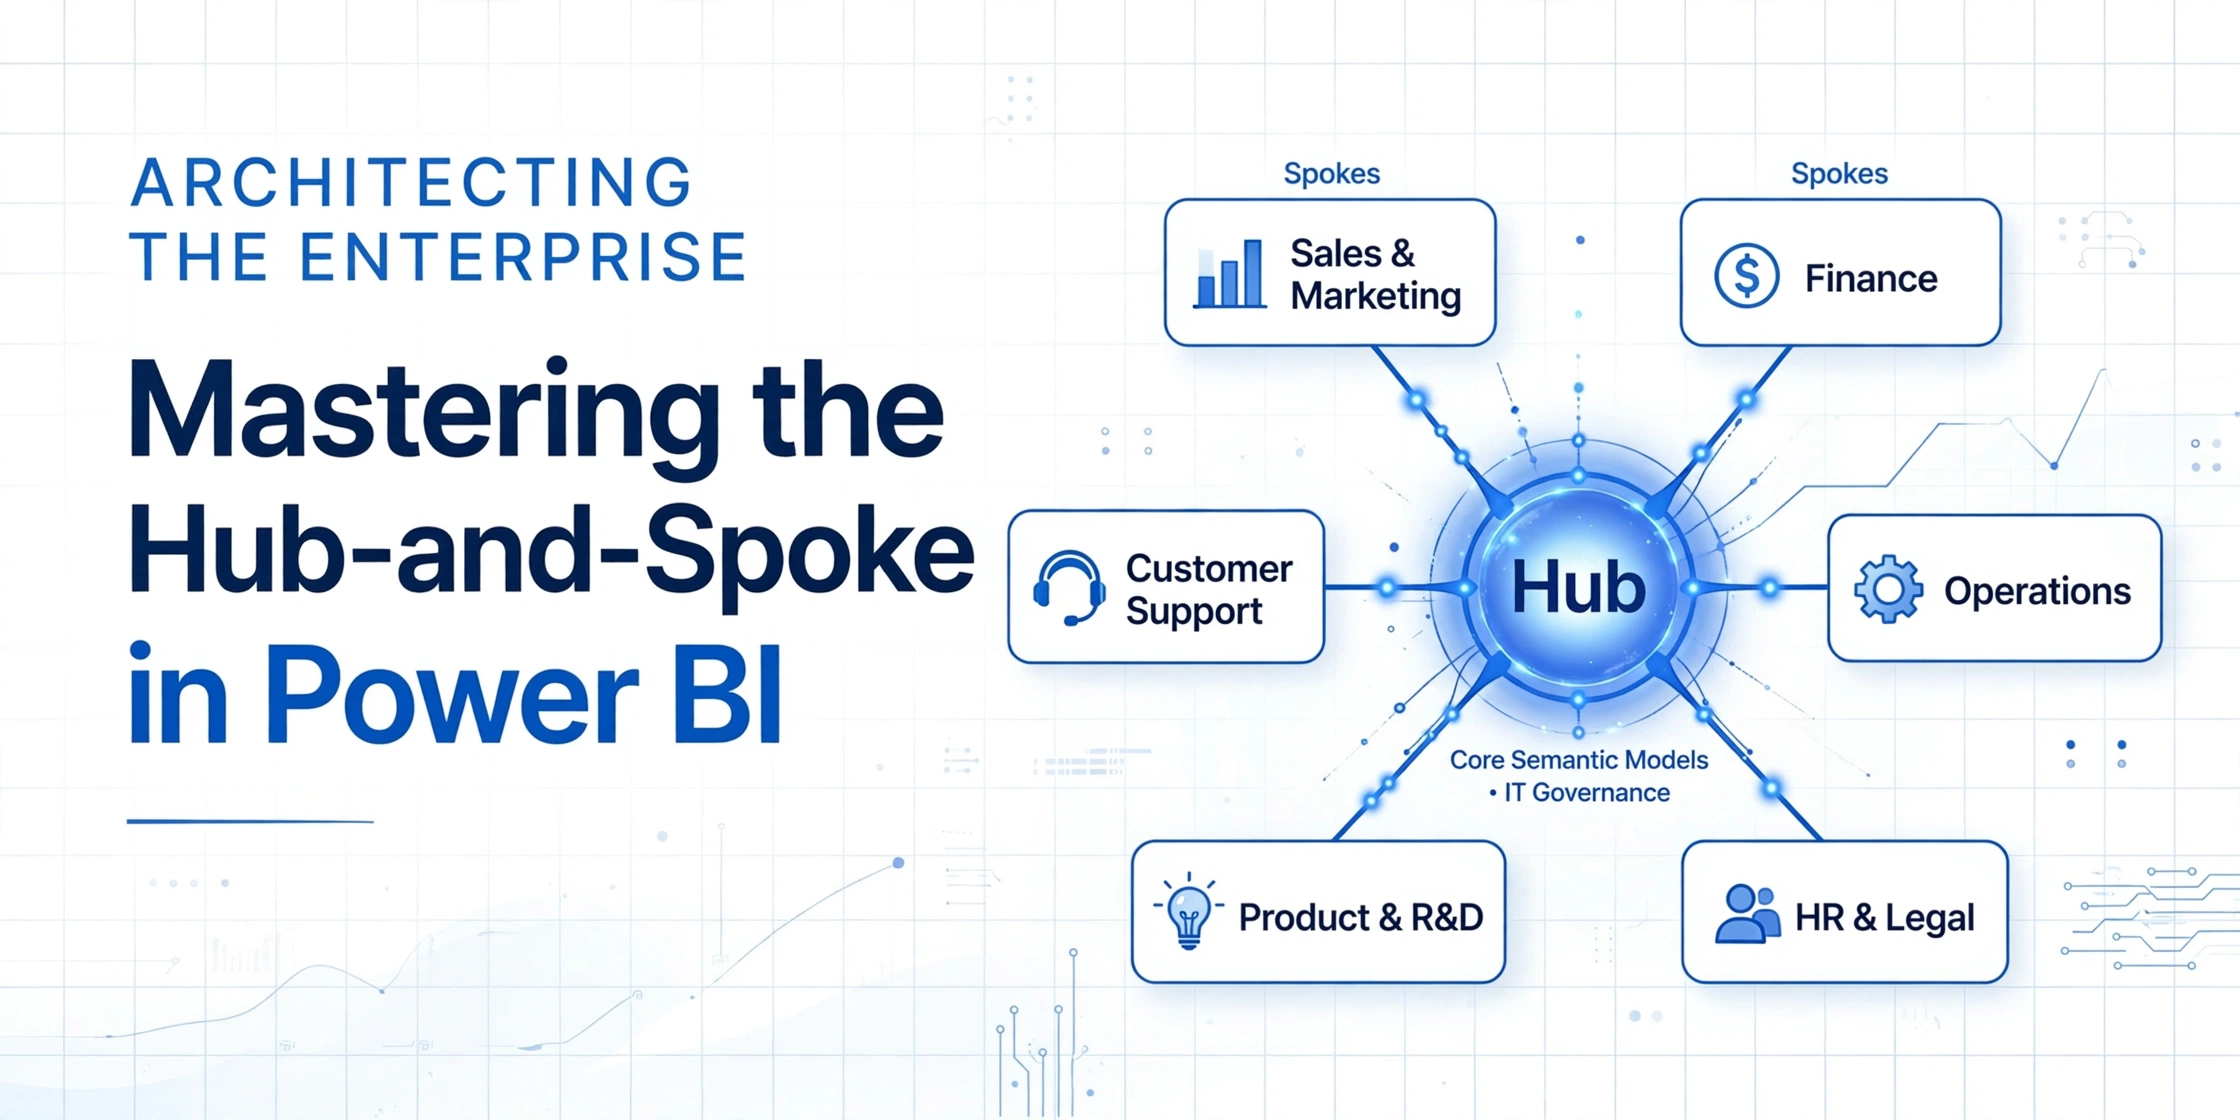
Enterprise planning connects core business functions
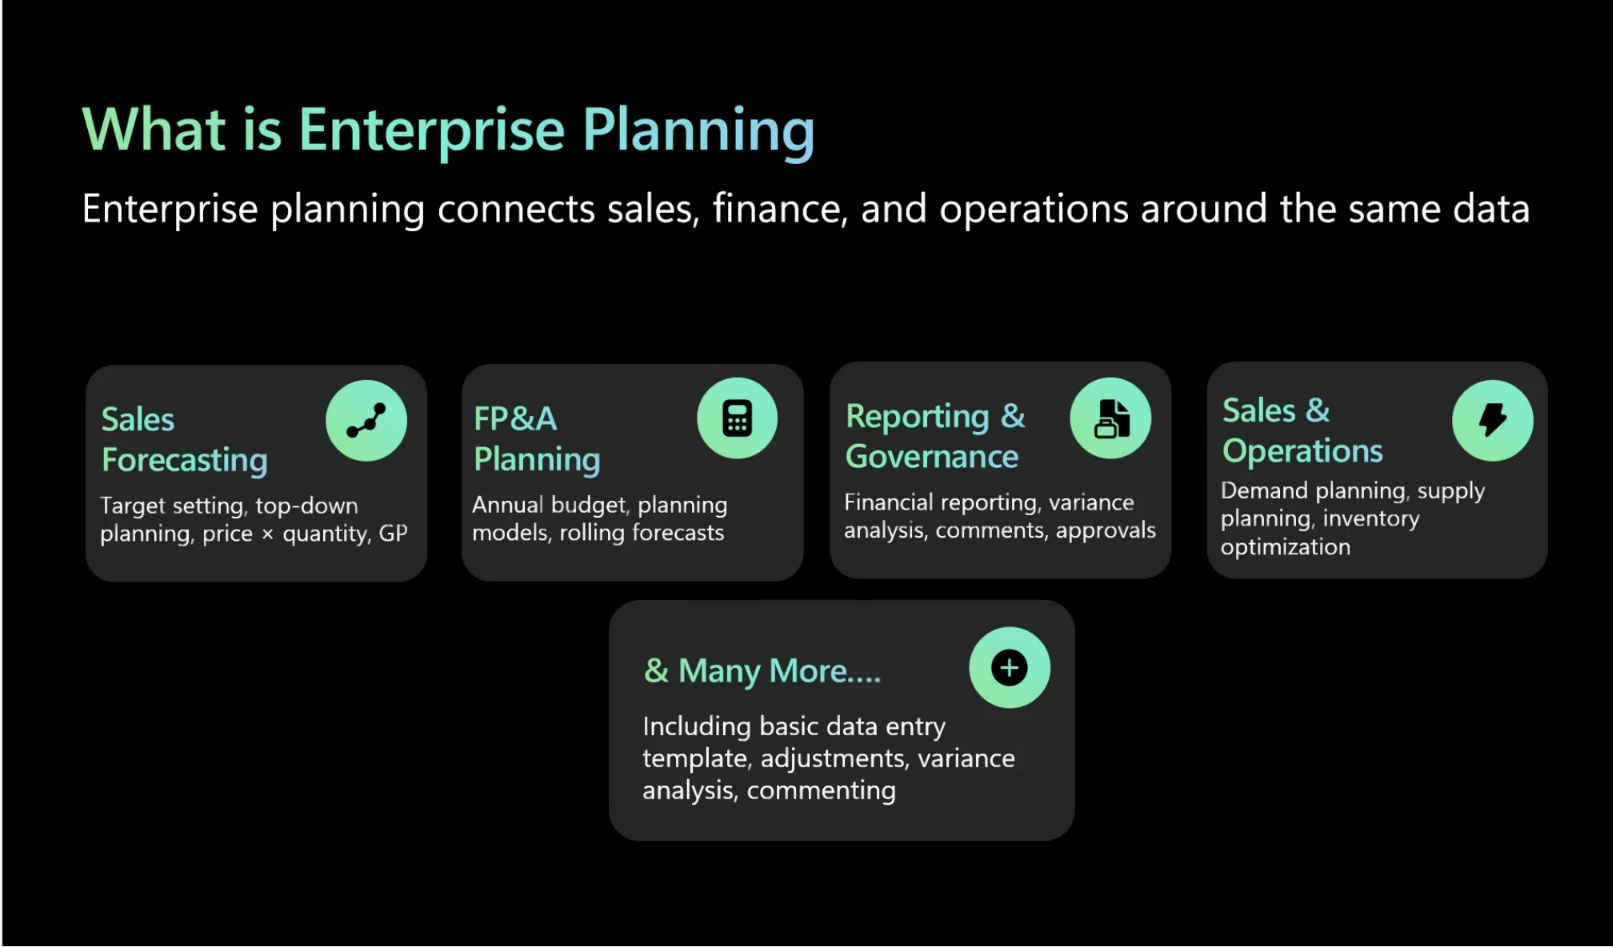
Enterprise planning connects core business functions
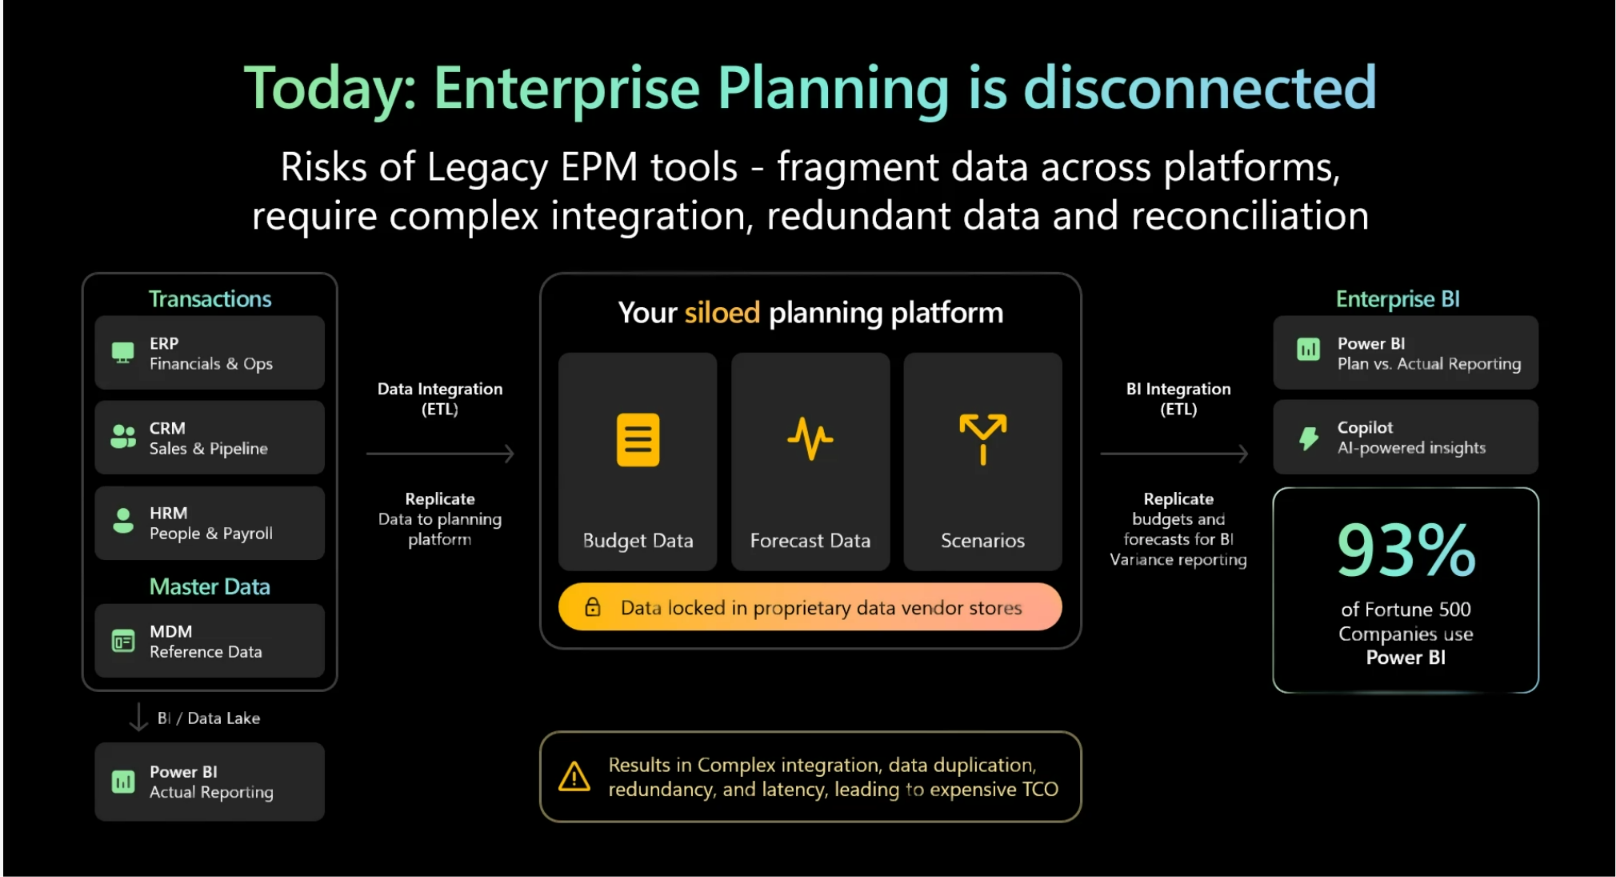
The cost of disconnected planning
When planning is disconnected from the data platform, teams spend more time moving data than making decisions. They reconcile spreadsheets, maintain point solutions, and rebuild integrations when assumptions or structures change.
This creates latency, duplication, and risk. It also makes it harder for finance, sales, operations, and leadership to stay aligned around one version of the truth.
Disconnected planning creates duplication and reconciliation work
Disconnected planning creates duplication and reconciliation work
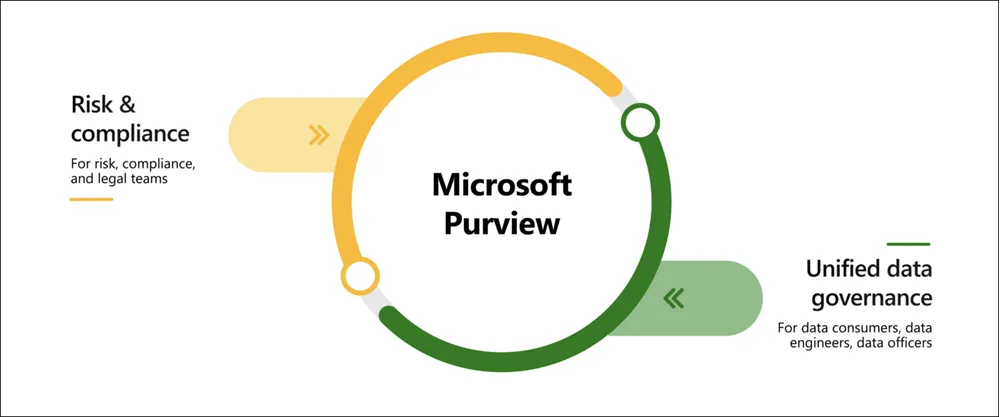
Planning should sit on the same data foundation
One of the strongest messages from the session was simple: planning should not sit outside the data platform.
Budgets, forecasts, scenarios, approvals, and actuals should connect to one governed foundation. Business users still need a familiar planning experience, but data teams should not lose control over definitions, lineage, security, and governance.
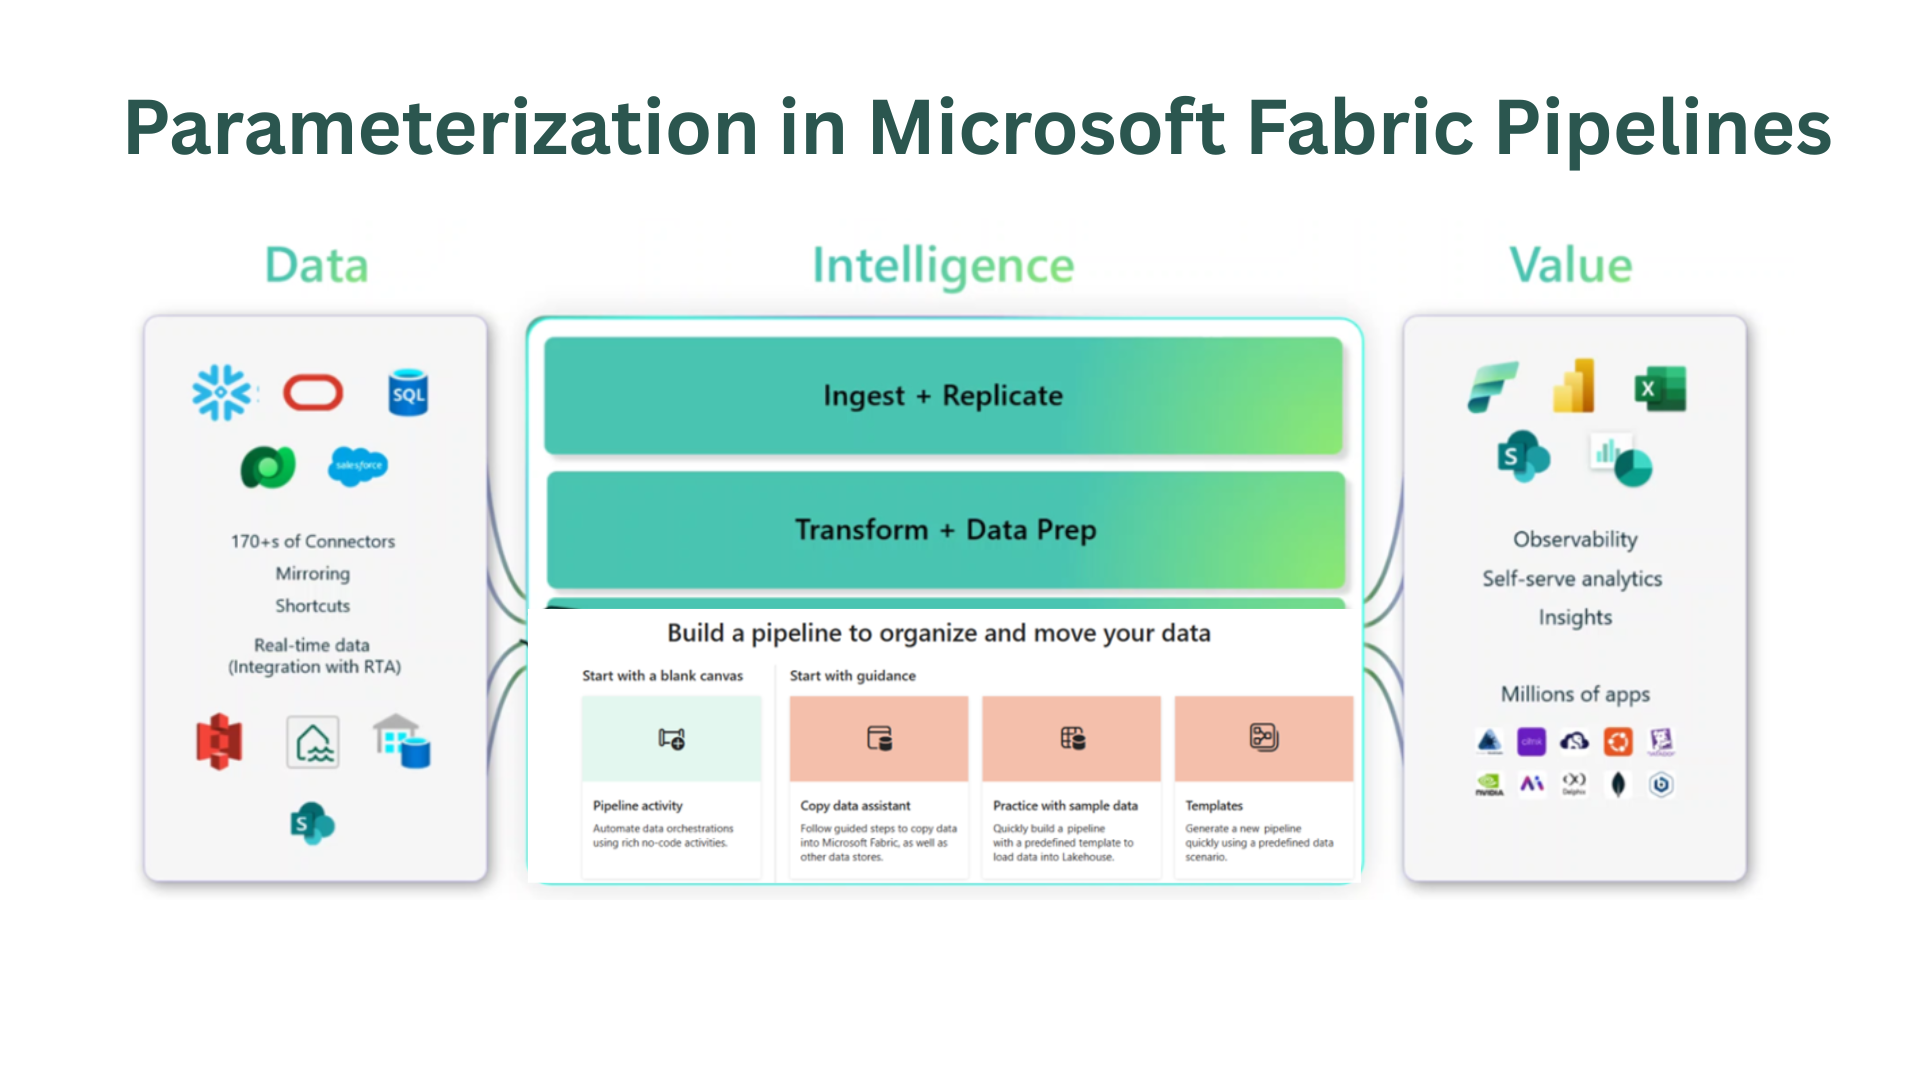
Planning on the full data estate
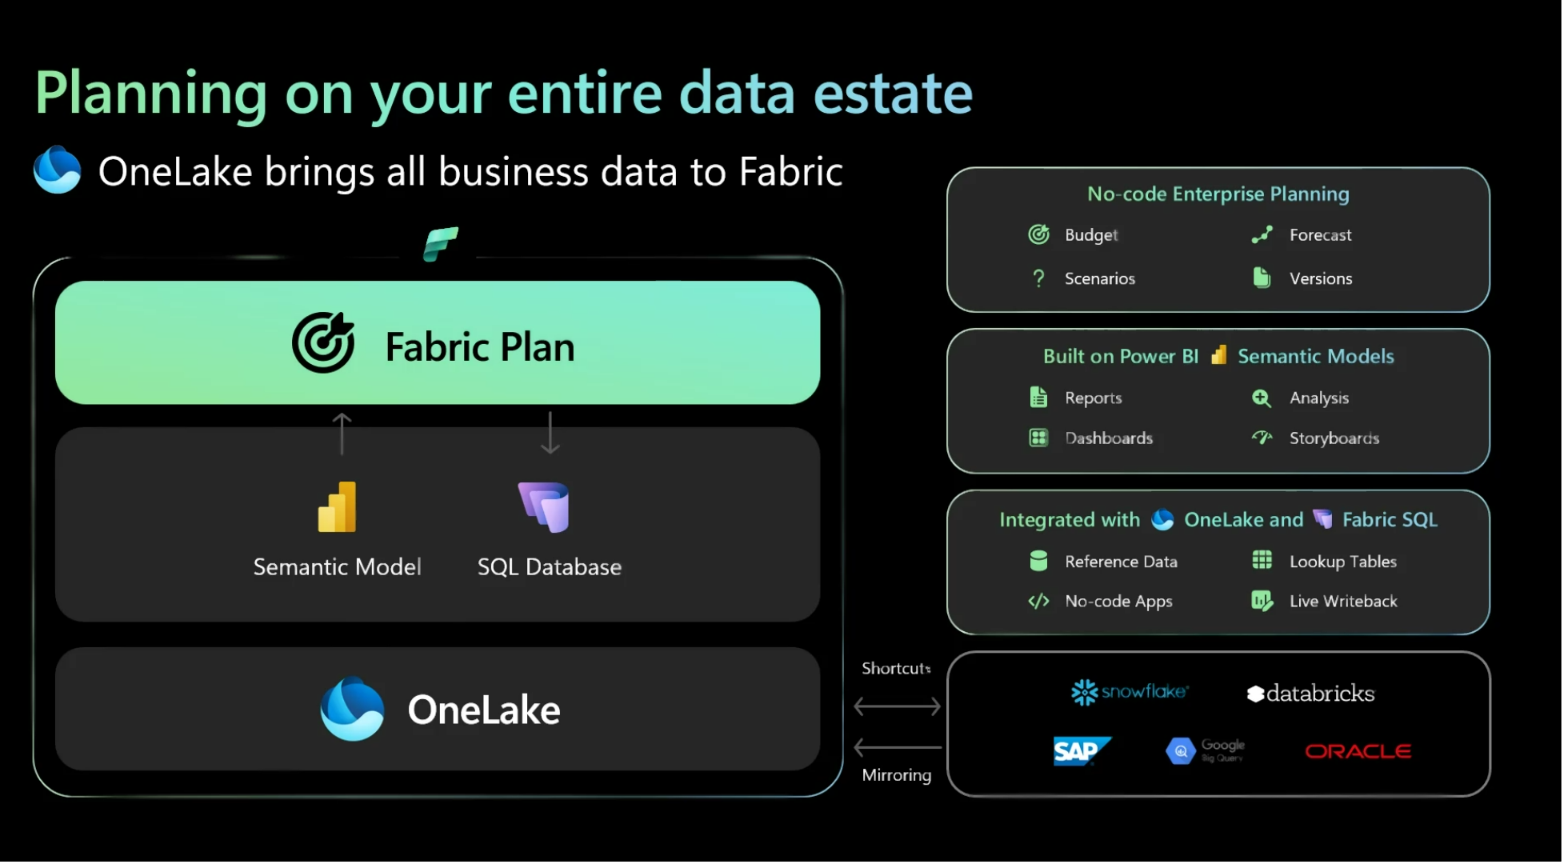
Planning on the full data estate
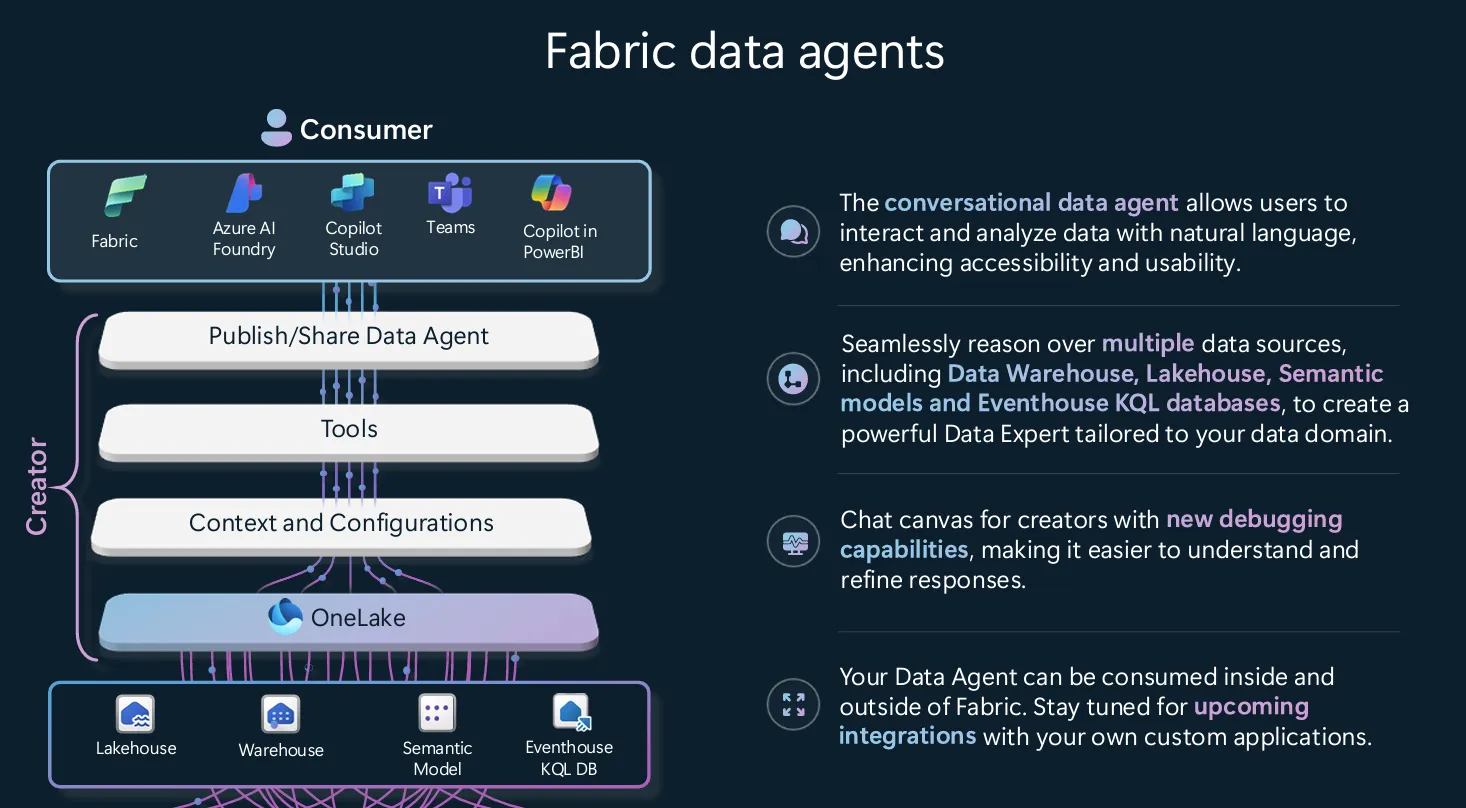
Semantic models become the planning knowledge base
Semantic models are a key part of this shift. In many organizations, they already define trusted business metrics: revenue, margin, customer groups, performance measures, and operational KPIs.
When planning connects to semantic models, teams can plan from trusted business definitions instead of static exports. Forecasts, budgets, and what-if scenarios become more aligned with the same metrics used in dashboards and executive reporting.
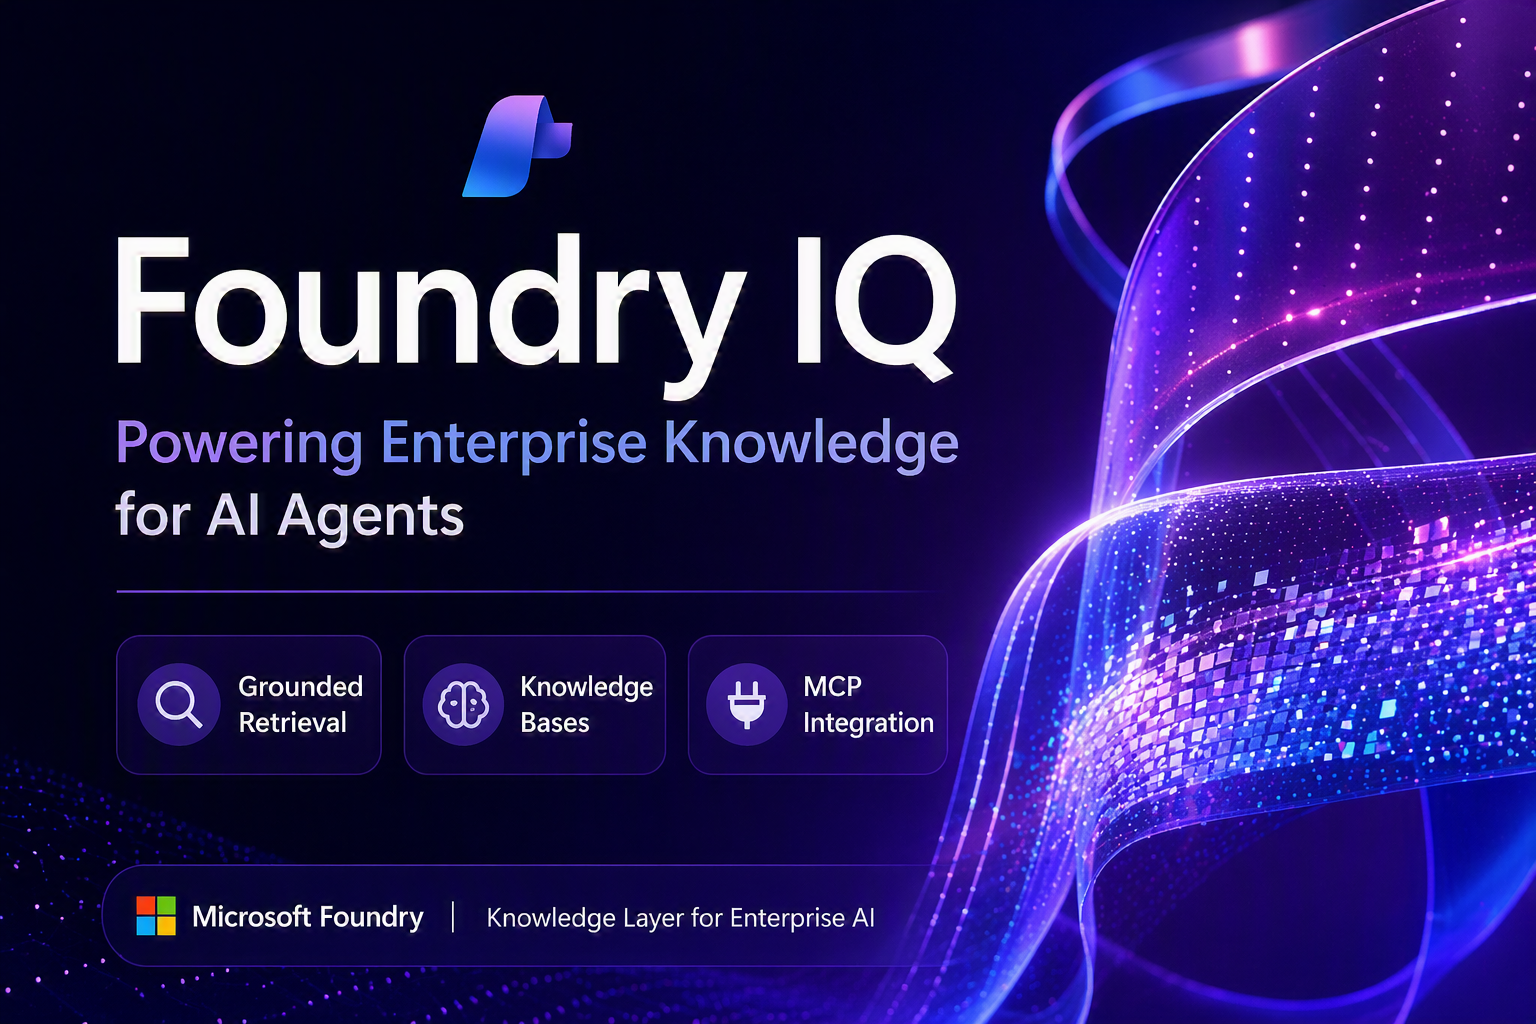
Semantic models as a trusted planning knowledge layer
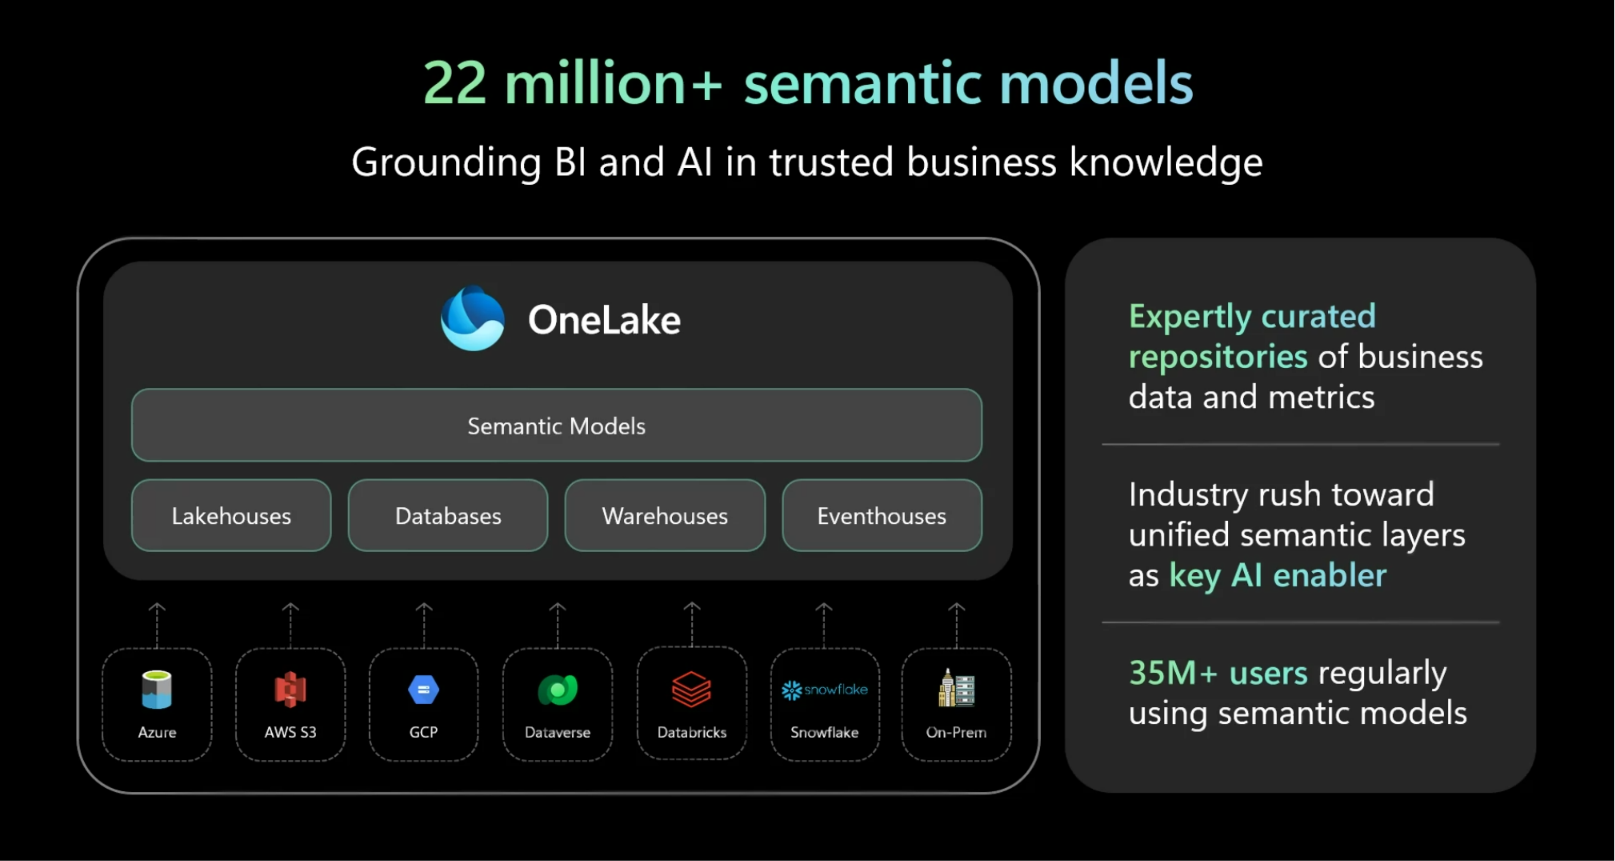
Semantic models as a trusted planning knowledge layer
A familiar experience for business users
Business users need flexibility. This is why spreadsheets remain popular. They are familiar, fast, and easy to use.
The goal should not be to remove that experience completely. The goal should be to make it governed, connected, and scalable. Planning in Fabric IQ points toward that model, with planning inputs, assumptions, scenarios, and approvals closer to the governed data estate.
Planning, PowerTable, and Intelligence built on one Fabric foundation
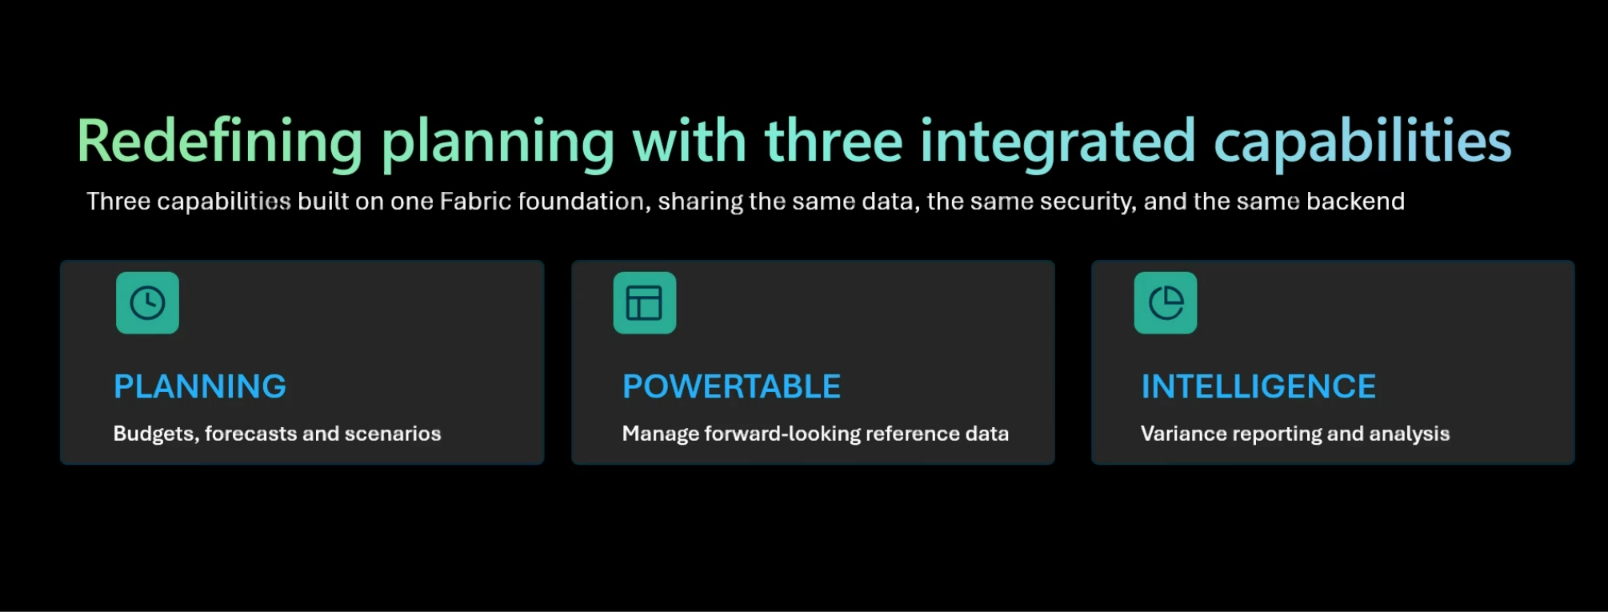
Planning, PowerTable, and Intelligence built on one Fabric foundation
No-code data management matters
Planning often depends on reference data that changes before it reaches core business systems. Future customers, new products, project codes, planning assumptions, and approval statuses all need a controlled place to live.
A no-code experience can help business users manage this data without creating another silo. For data teams, the priority remains governance, lineage, and control.
No-code integrated data management
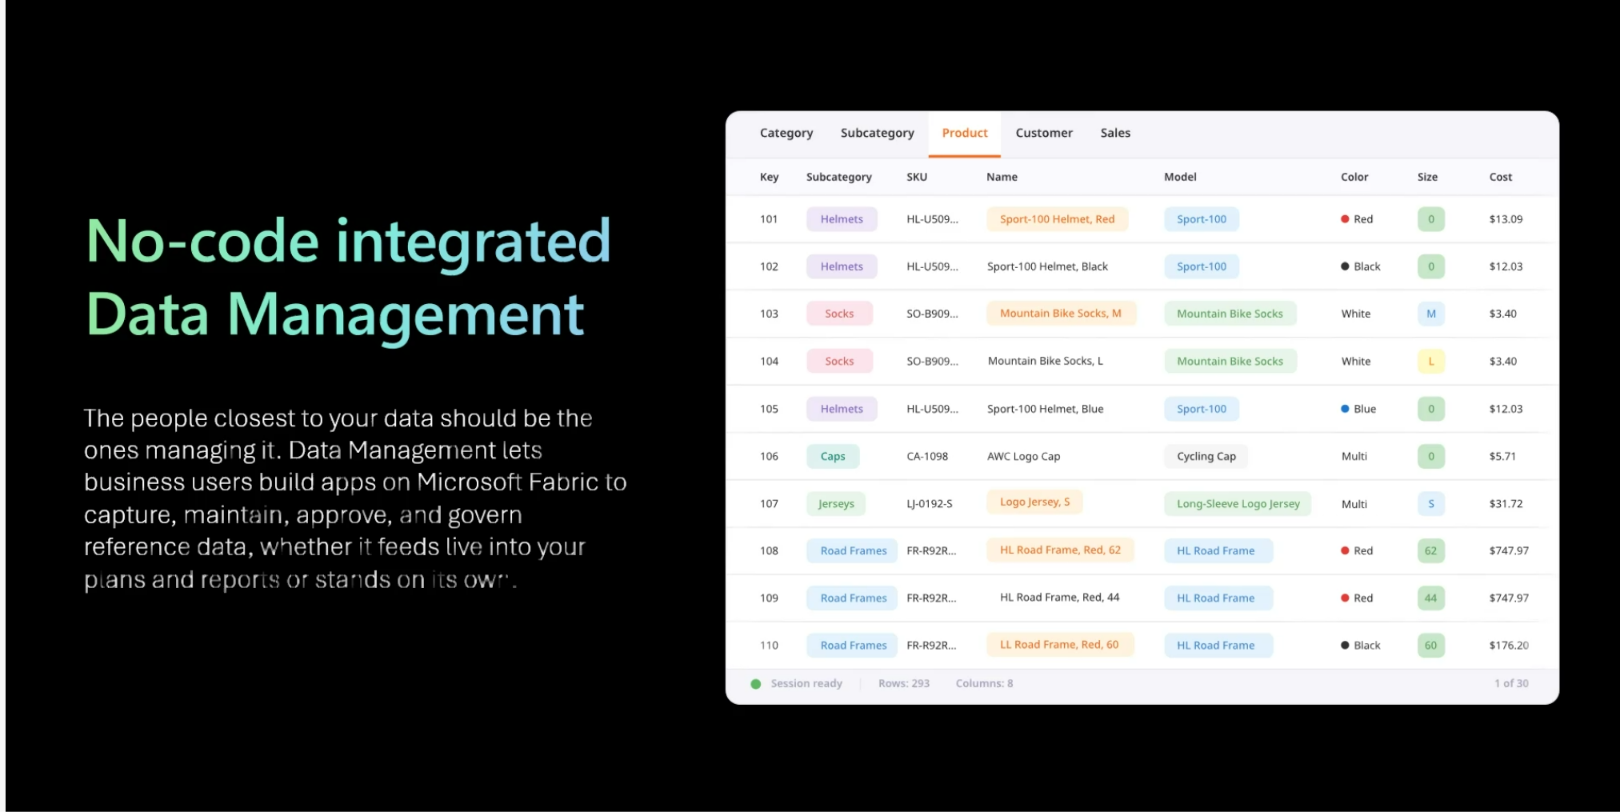
No-code integrated data management
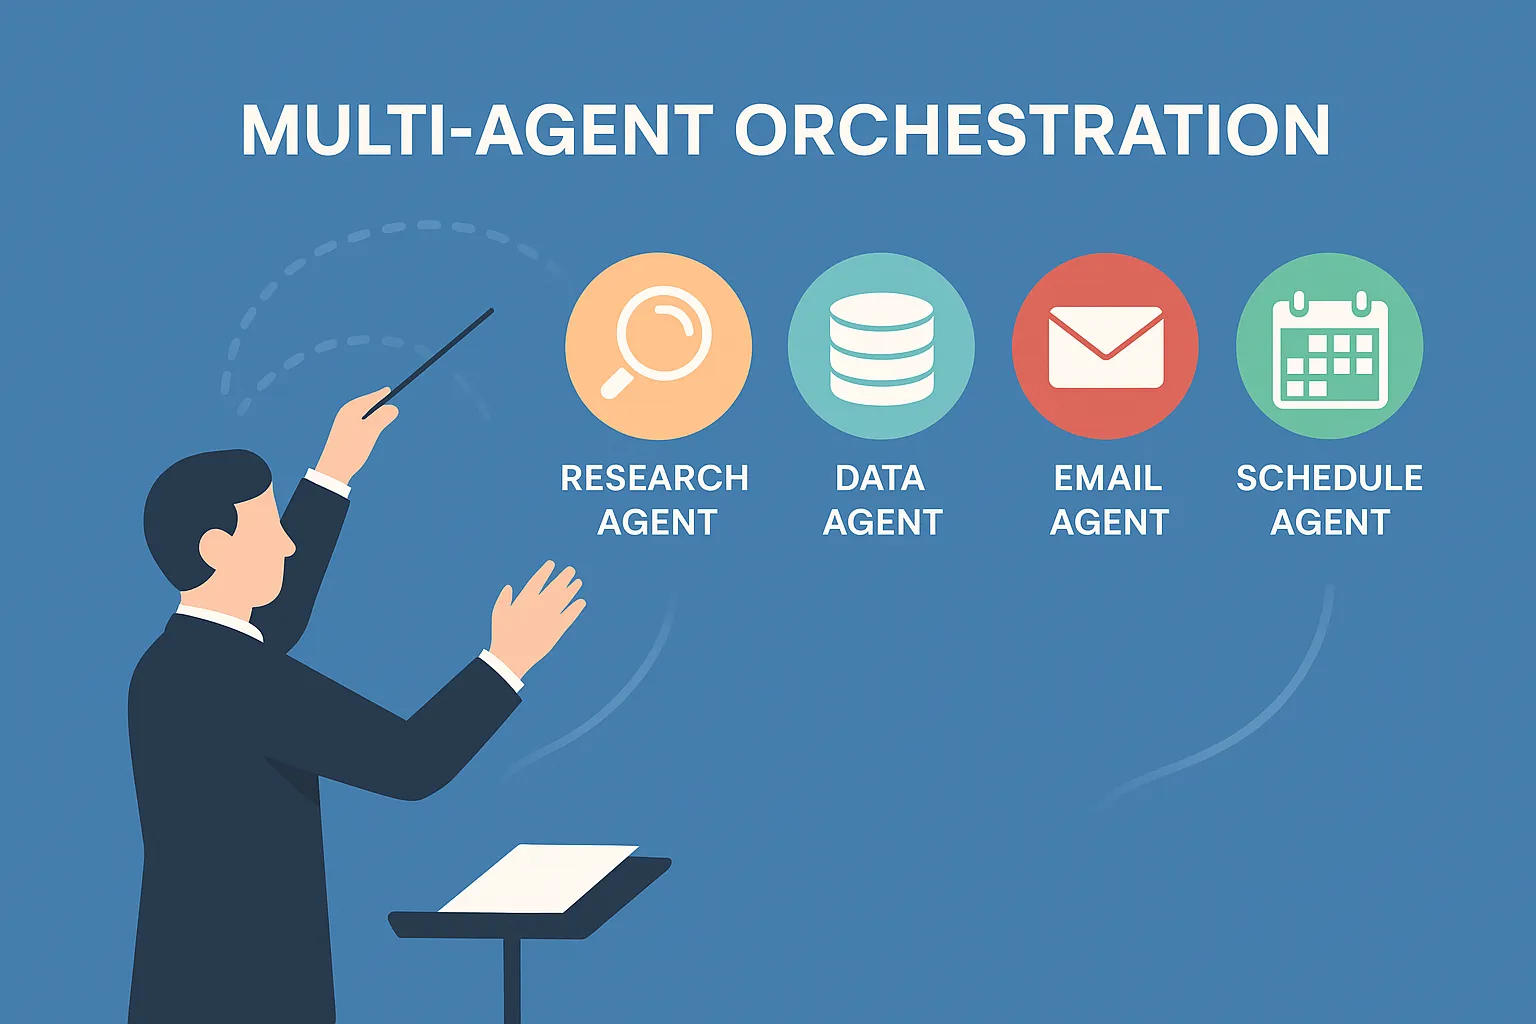
Purpose-built workflows close the loop
Modern planning is not only about entering numbers. It also includes status tracking, forms, approvals, automation, commentary, and accountability.
When these workflows connect to the same data platform, planning becomes part of the operating rhythm of the business rather than a separate monthly exercise.
Purpose-built apps for existing business workflows
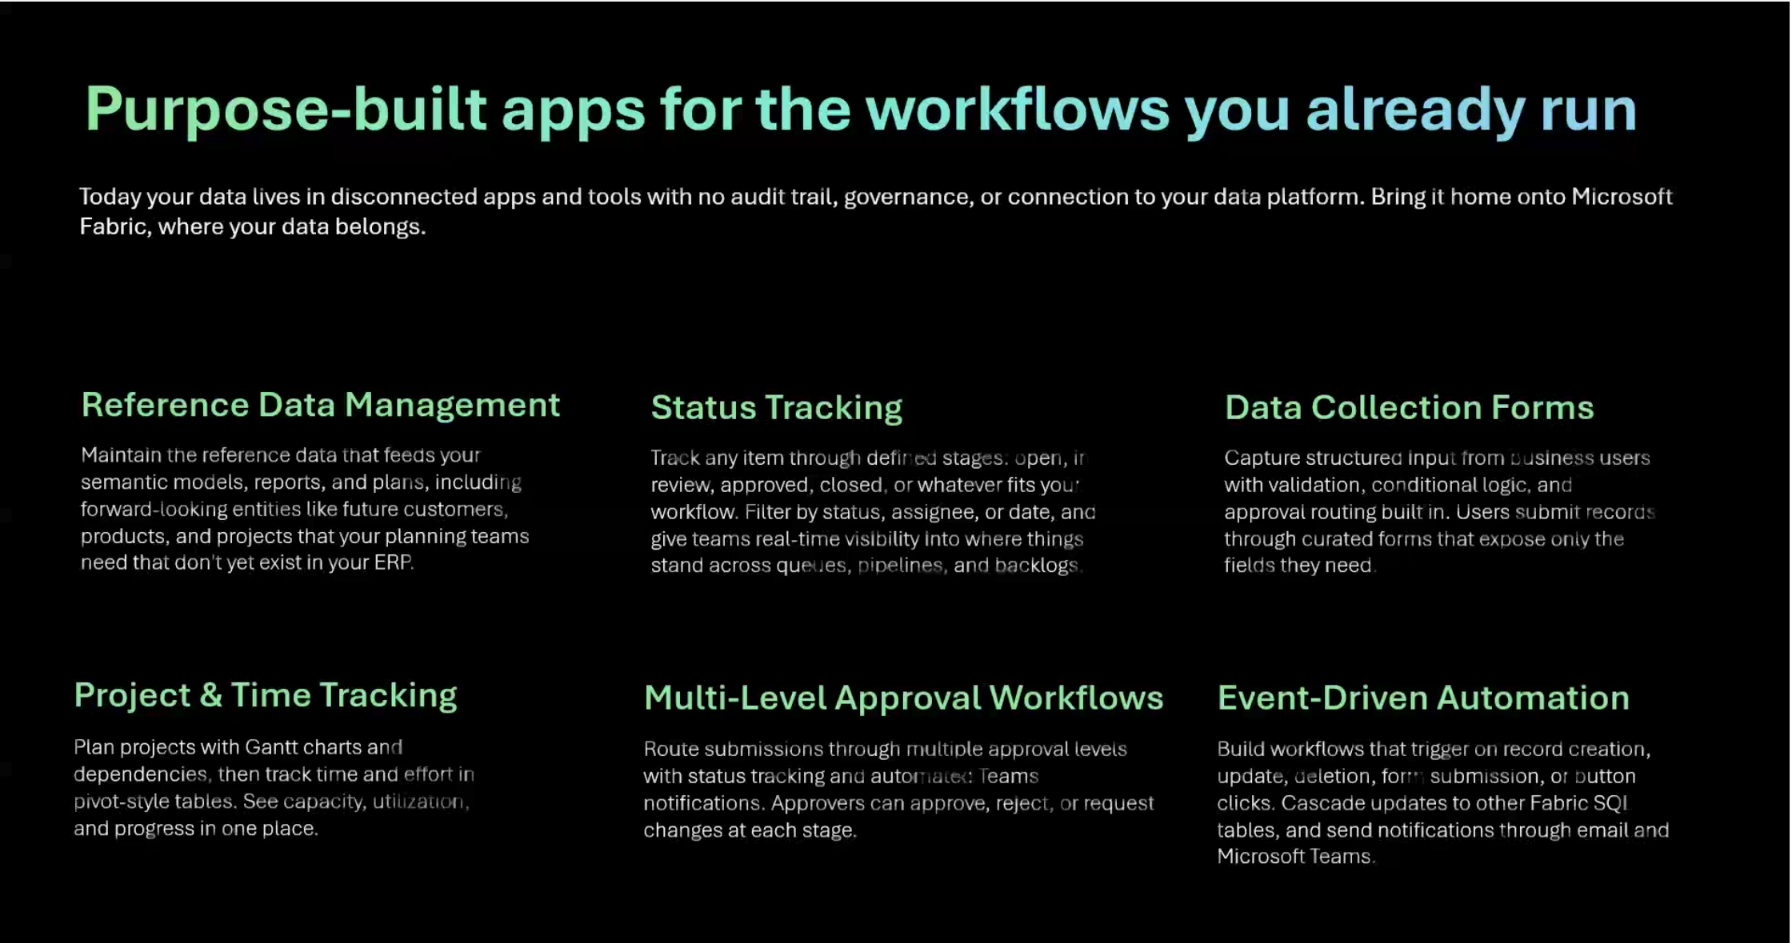
Purpose-built apps for existing business workflows
What this means for organizations
Planning in Fabric IQ is still in preview, but the direction is meaningful. It points to a future where planning, analytics, reporting, and action are not treated as separate workflows. They become connected parts of the same data estate.
|
✓ Planning can move closer to trusted data. ✓ Reports and forecasts can work from the same foundation. ✓ Business users can keep a familiar experience. ✓ Data teams can maintain governance and control. ✓ Leadership can make faster decisions from one version of the truth. |
Armely perspective
At Armely, we see this as a strong step toward modern enterprise planning.
Organizations do not just need more dashboards. They need connected systems that help teams plan, analyze, and act from trusted data.
As Planning in Fabric IQ continues to evolve, Armely will keep exploring what it means for data strategy, Power BI environments, planning processes, and long-term analytics roadmaps.
Enterprise planning is moving closer to the data. That is where it belongs.